Flashing a MediaTek (MTK) Android device using the Smartphone Flash Tool (SP Flash Tool) is a common process that allows users to update their devices, fix software issues, or install custom ROMs. The Smartphone Flash Tool is a powerful utility explicitly designed for MediaTek devices with MTK chipsets. If you own an MTK Android device and want to flash it using the SP Flash Tool, follow this step-by-step guide to ensure a successful flashing process. Flashing your device may void its warranty and potentially lead to data loss or even brick your device if not done correctly. Proceed at your own risk and ensure you have a backup of your important data.
Tips for flashing any MTK Android using a smartphone flash tool
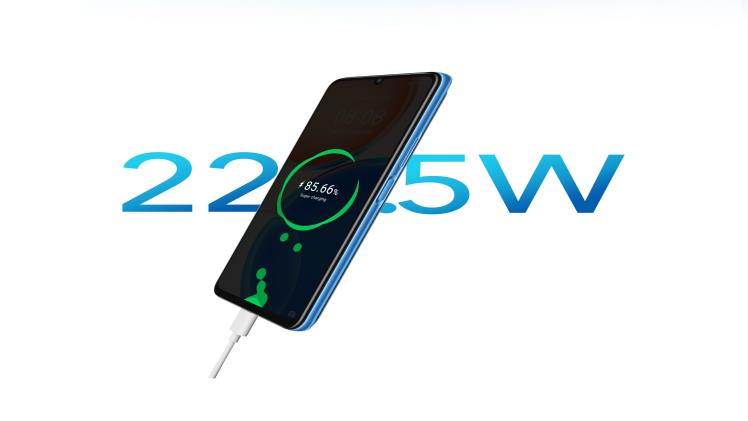
You need to download the latest version of SP Flash Tool from its official website and install it on your computer. Make sure you have the appropriate MTK USB drivers installed on your computer so that your device can be recognized by the SP Flash Tool. To connect your Android device to your computer during the flashing process, ensure your device has enough battery power to complete the flashing process. For example, Honor X7 has SuperCharge technology with a 5000mAh high-capacity battery. Here is a Step-by-Step Guide:
Step 1: Backup Your Data
Before proceeding with the flashing process, creating a backup of all your important data, like contacts, messages, photos, videos, and any other files stored on your device, is essential. Flashing will erase all data from your phone, and a backup ensures you can restore your data later.
Step 2: Install MTK USB Drivers
Ensure you have the MTK USB drivers installed on your computer. If you still need to install them, download the appropriate drivers for your device model from the manufacturer’s website and install them on your computer.
Step 3: Download the Firmware/ROM
Download the stock firmware or custom ROM you want to flash on your MTK Android device. Ensure the firmware you download is compatible with your exact device model, as flashing an incompatible firmware can cause serious issues.

Step 4: Extract Smartphone Flash Tool
Extract the downloaded SP Flash Tool package to a folder on your computer. Locate the “flash_tool.exe” file and double-click it to run the SP Flash Tool application.
Step 5: Load Scatter File
Click the “Choose” or “Scatter-loading” in the SP Flash Tool window. Navigate to the folder where you extracted the firmware files and select the “scatter.txt” file. The scatter file will contain information about the various partitions of your device.
Step 6: Select Flashing Options
Once the scatter file is loaded, the SP Flash Tool will display a list of partitions. By default, all partitions will be selected for flashing. You can choose to flash only specific partitions based on your requirements. Still, it’s better to leave all partitions selected for a complete firmware update. Power off your MTK Android device completely.
Step 7: Connect Your Device to the Computer
Connect your switched-off device to the computer using a USB cable. The SP Flash Tool will detect your device and begin the flashing process.
Step 8: Start the Flashing Process
Click the “Download” button in the SP Flash Tool to start the flashing process. The tool will begin transferring the firmware to your device. You will see a progress bar indicating the flashing process.
A green tick will appear once the flashing process is completed, indicating that the firmware has been successfully flashed to your MTK Android device. You can now disconnect your device from the computer.
Step 9: First Boot
Power on your device. The first boot after flashing may take some extra time, so be patient. Your device will now run the new firmware or custom ROM you flashed. You have successfully flashed your MTK Android device using the Smartphone Flash Tool. If everything goes smoothly, your device should run the updated firmware or custom ROM. Remember to set up your device again and restore your data from the backup you created earlier.
Conclusion
This article provides a step-by-step guide on Flash any MTK Android using the Smartphone Flash Tool. And if you are looking for a phone with a long 5000mAh battery so it can operate without any interruptions, consider getting HONOR X7. It is a phone with a 6.74″ 90Hz HONOR FullView screen so you can do the tasks conveniently.


